Case Studies
The Cervico by VPI System has been developed and clinically tested over the last four years, consistently proving it’s safety, precision and efficiency. Follow the recommended protocols of clinical use for optimum results. These protocols have been tested and proven to be the most efficient. The speed in which the clinician is able to fabricate an optimised healing abutment in any intra oral situation is phenomenal and the outstanding results make the aesthetics for the final prosthesis seem so simple.
The Cervico by VPI System can also be used for fabrication of two piece healing abutments and impression posts. A VPI custom abutment can be modified to a temporary abutment in order to support a temporary prosthesis, fabricated analogically or digitally. VP Innovato Holdings offers extensive training on how to utilize the The Cervico by VPI System in order to take full advantage of all the possibilities and capabilities the system can offer!
Case Study 1


Cervico healing abutments
in place according to the
prosthetic plan

2 weeks post uncovery
surgery

Emergence profile generated


Impression with Cervico impression posts
Cervico impression posts ensure a secure positioning into the impression
Cervical profile recorded accurately
Case Study 2


Edentulous space evaluated with Cervico guide
(#5.1)
Cervico healing abutment (#5.1) in place
Cervico healing abutment directs tissue proper facial profile

2 weeks post uncovery, generated soft tissue profile

Cervico Impression post
(#5.1) in place

Impression

Final restoration with no black triangles and undercut areas. Proper cervical profile as generated and recorded with the Cervico system
Case Study 3

Cervico healing abutments in place at uncovery surgery

16 days post uncovery procedure an optimal in shape and size cervical profile has been generated

Optimum shape and size cervical profile allow for enhanced aesthetics

Case Study 4

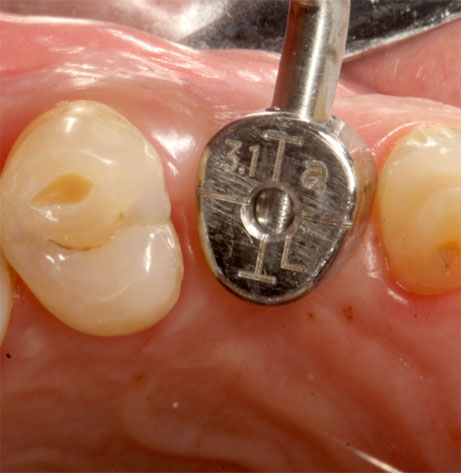
Edentulous space evaluated with Cervico guide (#12.1)

Place the implant with flat surface of the hex in the same direction (facially) as the T lines of the tab

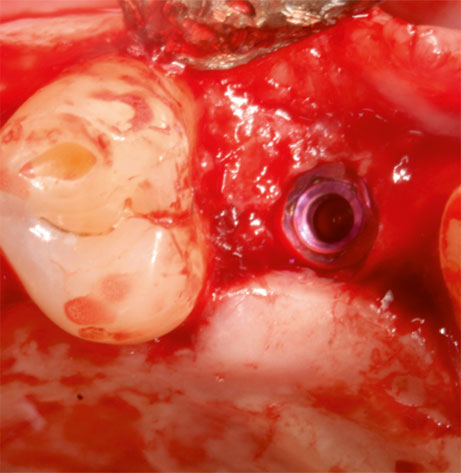
Cervico healing abutment (#12.1) is coupled with the implant for evaluation

Two stage procedure was decided and the site was grafted and left to heal.


Cervico healing abutment (#12.1) received further customisation to replicate the natural emergence profile
3 months post implant placement, the site is ready for uncovery
Cervico healing abutment (#12.1) is coupled with the
implant


Two weeks post uncovery procedure
An optimal cervical profile has been generated
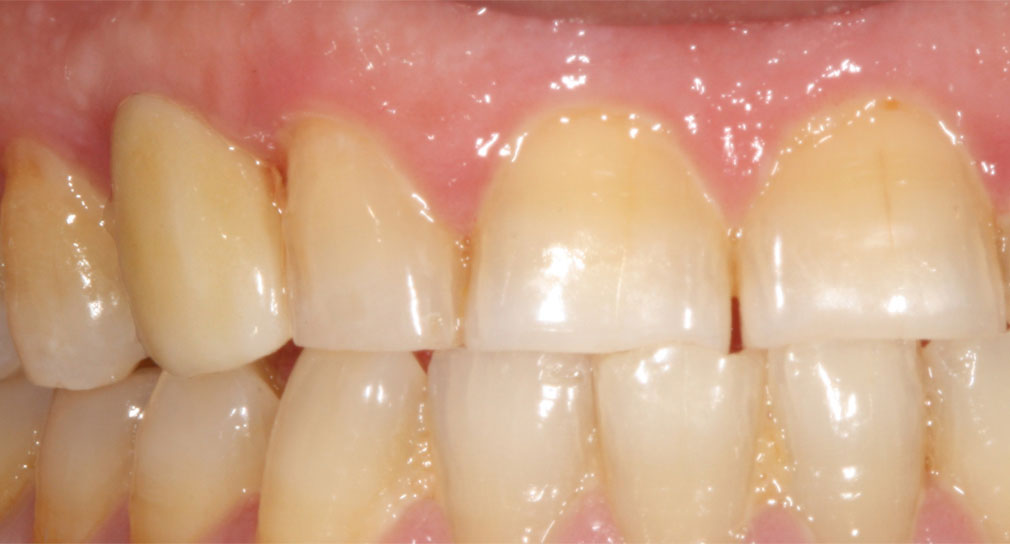
Temporary restoration with no black triangles and undercut areas. Proper cervical profile as generated and recorded with the Cervico system provided the foundation for the ideal restoration.
Case Study 5

Edentulous site

Cervical Profile selection. T line dictates proper orientation of implant’s prosthetic connection
upon placement (Facially)

Edentulous site dimensions evaluation

Osteotomy position intiation

Osteotomy position/inclination evaluation in relation to selected cervical profile

Implant positioned with hex facing facially

Two stage protocol was selected for this case
3 months later uncovery stage

Cervico healing abutment modified distally to allow more room for papillae development

3 weeks later

Generated soft tissue profile

Before

After
Duplication process of modified custom healing abutment

Modified healing abutment installed into the duplication well

Impression material filling the space and left to set

Impression post core replaces the custom healing abutment

Composite material fills the available open space

Generated duplicate impression post
Impression Stage


Duplicate impression post installed to the implant
Composite material added on the custom body and light cured, extending over the free gingival margin
Lab Stage


Duplicate impression post installed into the impression in only one functional position
Generated cervical & emergence profile


Custom soft tissue profile replicated accurately on the working cast
Working cast scanned


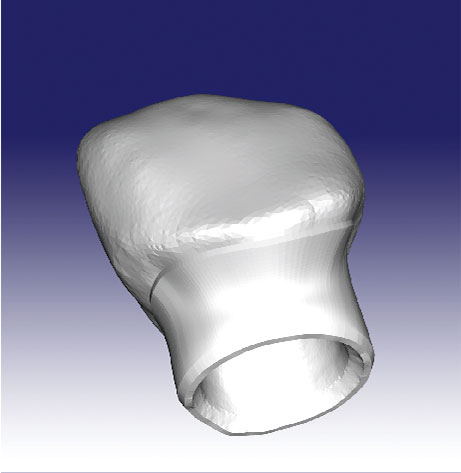
Sub-gingival design of monolithic prosthesis


Final prosthesis


Prosthesis in the mouth

